
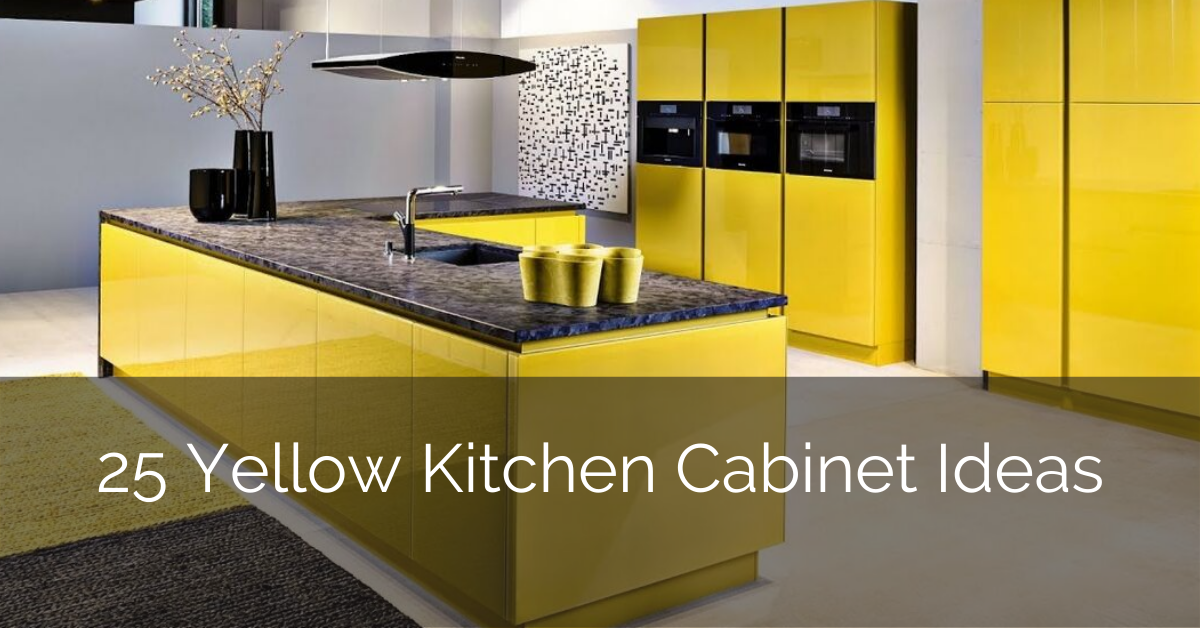
Sunshine's Secret: A Kitchen Makeover
Sunshine's Secret: A Kitchen Makeover

For years, our kitchen felt…blah. A functional space, certainly, but lacking the warmth and vibrancy we craved. It was a beige box, a culinary cubicle, devoid of personality. Then, a burst of sunshine – literally – changed everything. This is the story of how we transformed our drab kitchen into a sun-drenched haven using the power of yellow.
From Beige to Bliss: The Initial Vision
Our kitchen was a victim of its own neutrality. Beige cabinets, beige countertops, beige…everything. It lacked character, and frankly, it sucked the joy out of cooking. We needed a change, something bold, something bright. And that's when yellow entered the picture.

Initially, the idea felt daring. Yellow in the kitchen? Wasn't that a bit much? But the more we explored different shades – from buttery pale yellows to sunny golden hues – the more captivated we became. We envisioned a space filled with warmth, energy, and a touch of unexpected whimsy.
Choosing the Perfect Yellow: A Shade of Happiness
This wasn't about slapping any old yellow paint on the cabinets. We researched extensively, poring over paint swatches and online inspiration boards. Choosing the right shade of yellow is crucial. It needed to complement our existing flooring (a warm, light oak) and tie in with our overall home decor (a blend of modern farmhouse and Scandinavian minimalist styles).

Ultimately, we settled on a soft, buttery yellow with a hint of grey undertone. This "greige yellow," as we affectionately called it, struck the perfect balance between cheerful and sophisticated. It wouldn't be overwhelming, yet it would still make a statement.
Here are some tips for choosing your perfect yellow:
- Consider your lighting: North-facing kitchens might benefit from a warmer, richer yellow, while south-facing kitchens might need a cooler, slightly paler shade.
- Test the paint: Always, always test paint swatches in your kitchen under different lighting conditions. The color can look drastically different at different times of day.
- Think about your style: A bold, mustard yellow might suit a bohemian style, while a pale lemon yellow might be better suited for a minimalist space.

The Transformation: A Step-by-Step Guide
The makeover was a labor of love, but the results were worth every bit of effort. Here's a breakdown of the process:
Phase 1: Prep Work

- Clean the Cabinets: Thoroughly clean your cabinets with a degreaser to remove any grease or grime. This ensures proper paint adhesion.
- Sanding (Optional): If your cabinets are glossy, lightly sanding them will create a better surface for the paint to adhere to. Use fine-grit sandpaper and be gentle.
- Prime the Cabinets: Applying a high-quality primer is essential, especially when painting a light color over a darker one. It prevents the old color from bleeding through.
Phase 2: Painting Perfection
- Choose your paint: We opted for a high-quality cabinet paint with a semi-gloss finish for easy cleaning.
- Apply the paint: Use a high-quality brush or roller for a smooth, even finish. Multiple thin coats are better than one thick coat. Allow each coat to dry completely before applying the next.
- Patience is key: Let the paint cure completely before adding hardware or using the cabinets. This usually takes several days.

Phase 3: Finishing Touches
- New Hardware: We replaced our old, dated hardware with sleek, brushed nickel knobs and pulls. The updated hardware added a modern touch and complemented the yellow cabinets beautifully.
- Styling Details: We incorporated pops of contrasting colors – teal accents in our textiles and artwork – to add visual interest and prevent the yellow from feeling overwhelming.
- Lighting: We added warmer lighting to enhance the yellow's glow and create a cozy atmosphere.
Beyond Cabinets: Embracing the Yellow Theme

The yellow cabinets were the anchor of the makeover, but we extended the sunshine theme throughout the kitchen. We added yellow-toned accessories like:
- A sunny yellow rug: This added a pop of color and warmth underfoot.
- Yellow dish towels and oven mitts: These small details brought the overall color scheme together seamlessly.
- Yellow fruit bowl: A simple but effective way to add a burst of sunshine to the countertop.
Tips for Incorporating Yellow into Your Kitchen:
- Start small: If you’re hesitant about using a lot of yellow, start with smaller accents like accessories or artwork.
- Mix and match textures: Use yellow in different textures, such as a smooth painted surface and a woven rug, to add depth and visual interest.
- Consider complementary colors: Yellow pairs well with many colors, including blues, greens, and grays. Experiment with different combinations to find what works best for you.
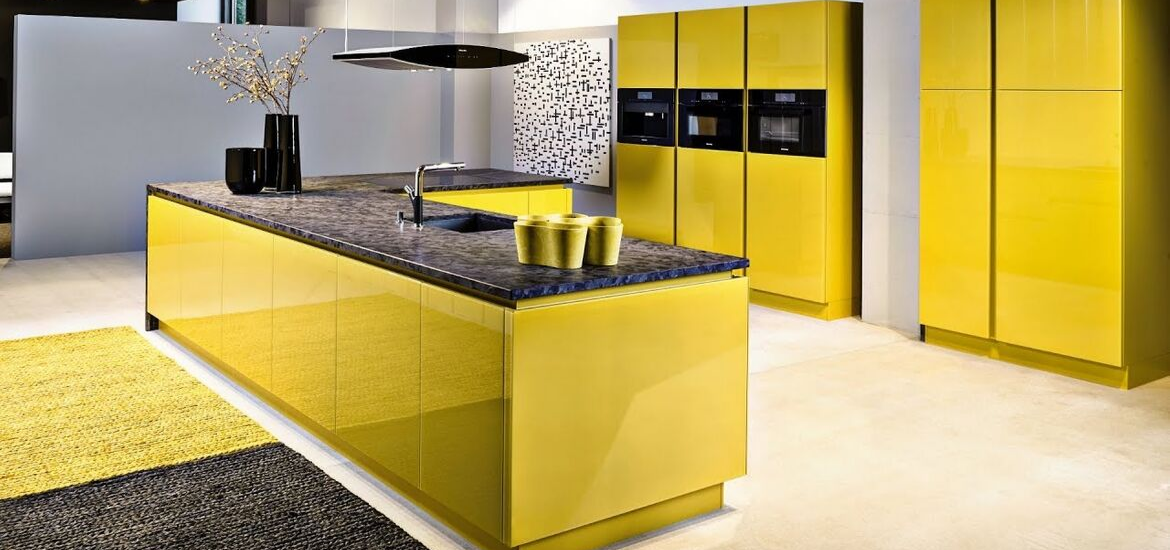
The Result: A Kitchen Filled with Sunshine
The transformation was truly remarkable. Our once drab, beige kitchen is now a vibrant and inviting space filled with warmth and light. The yellow cabinets are the star of the show, but the carefully chosen accessories and styling details create a cohesive and harmonious look. Cooking and spending time in our kitchen is now a joy, not a chore. It’s a testament to the power of a well-executed kitchen makeover and a bold color choice. The sunshine's secret? It's all in the yellow.

Before & After Gallery
(Insert a visually appealing before & after photo gallery here. Ideally, high-quality images showcasing the transformation. Use descriptive captions.)
Your Turn: Let the Sunshine In!
We hope this blog post has inspired you to embrace the power of yellow in your own kitchen makeover. Remember, a little sunshine can go a long way in brightening your home and your mood. Share your own kitchen makeover experiences in the comments below – we’d love to hear from you!
